How to Fix a Loose Cornice Hanging from Your Ceiling

how to fix cornice coming away from ceiling

Have you noticed a crack forming between your ceiling and the cornice, or worse, the cornice starting to come away from the ceiling? It's a common issue in homes, but luckily, it's something you can fix yourself with a bit of know-how.

In this guide, we'll walk you through the steps to repair a loose cornice, ensuring your room looks great and stays safe.

Why Fixing a Loose Cornice Matters

A loose cornice isn't just an eyesore; it can also be a safety hazard. If left unfixed, it could fall off completely, risking damage to your property or even injury.

By taking action early, you can prevent further damage and keep your home looking its best.

Step-by-Step Guide to Fixing a Loose Cornice

1. Assess the Damage

Start by examining the crack to see how extensive it is. Use a paint scraper to remove any loose paint or plaster around the area, exposing the surface underneath.

2. Prepare the Cornice Cement

Mix up some cornice cement in a bucket until it forms a paste-like consistency. You want it thick enough to stick but not so thick that it's hard to work with.

3. Fill the Gap

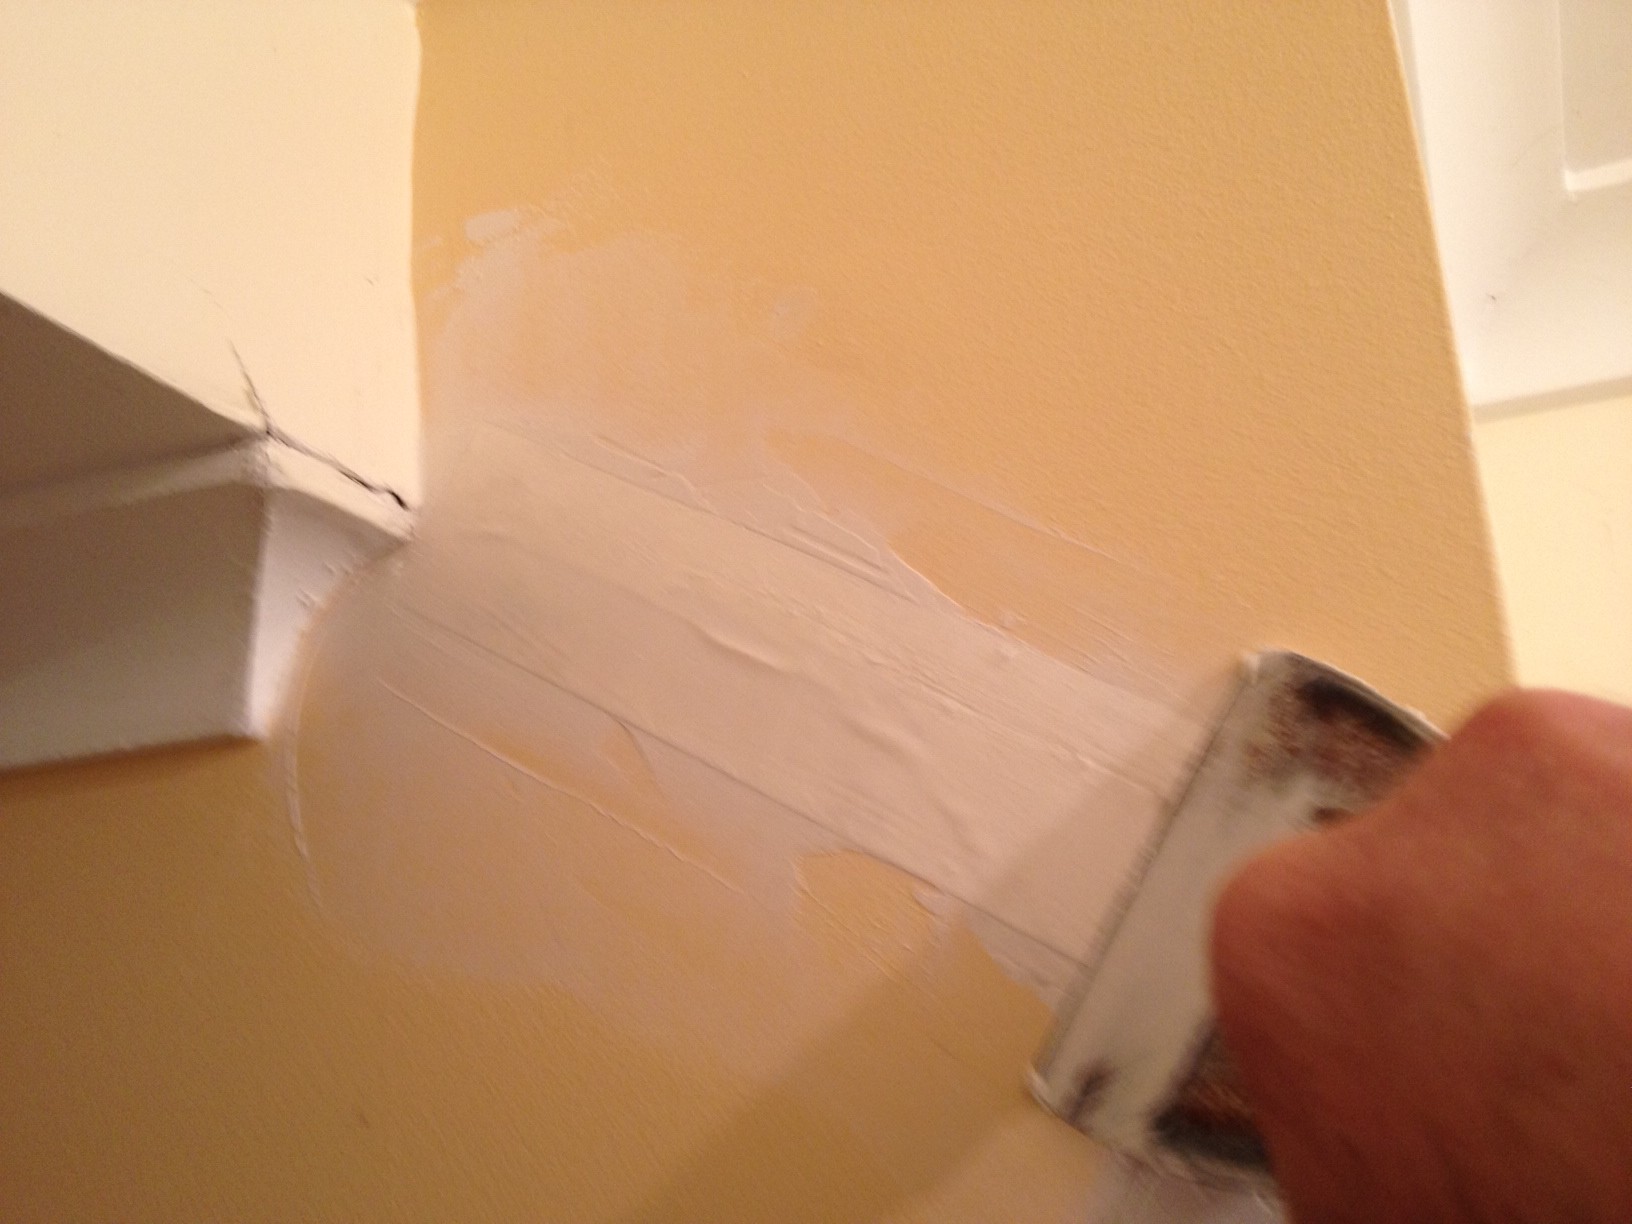
Using a scraper, apply the cornice cement into the gap between the cornice and the ceiling. Press it in firmly to ensure it fills the crack.

4. Secure with Screws

To reinforce the repair, use a drill to screw plasterboard screws through the cornice and into the ceiling. This will hold everything in place while the cement sets.

If any excess cement oozes out, scrape it off and use it to fill the screw heads.

5. Smooth and Finish

Once the cement has been set for a few minutes, use a damp rag or sponge to wipe along the crack. This will smooth out the surface and give it a more polished look.

If necessary, lightly sand the area once the cement is fully dry.

6. Apply Sealer and Paint

Finish off by applying a sealer undercoat to the repaired area. Once it's dry, paint over it with two coats of acrylic paint to match the ceiling colour.

This will help blend the repair seamlessly with the rest of the ceiling.

Alternative Method

If the cornice feels hollow and loose, you can use a fast-curing adhesive like Bostik Nail It Fast Cure. Simply drill into the cornice, inject the adhesive, and seal off the holes with a multipurpose filler.

Then, use a flexible gap filler to cover any visible gaps and create a smooth finish. Fixing a loose cornice might seem like a big job, but it's quite manageable with the right approach.

By following these steps, you can restore your ceiling to its former glory and ensure it stays safe for years to come. Don't let a little crack ruin the look of your room – take action today and enjoy a beautifully repaired ceiling!

Fixing a loose cornice isn't as scary as it sounds. Just follow these simple steps, and you can handle it yourself, saving both time and money on hiring a pro.

Safety first, though – make sure you're thorough and careful. If you're dealing with cornice ceilings Perth, don't hesitate to ask for assistance if you're unsure.

With a bit of elbow grease, your ceiling will be looking tip-top in no time!
Why Do Cornices Crack? Understanding the Causes and Solutions

why do cornices crackCornices are beautiful architectural features that add elegance and charm to our homes. However, if you've ever noticed cracks forming along the edges of your cornices, you're not alone.

Cracks in cornices can be unsightly and concerning, but understanding why they occur can help you address the issue effectively. In this article, we'll explore the common reasons why cornices crack and discuss practical solutions to prevent and repair them.

1. Natural Aging and Wear

One of the primary reasons why cornices crack is the natural aging and wear of the materials used in their construction. Over time, the materials comprising cornices can weaken, making them more susceptible to cracks.

Just like any other part of your home, cornices experience wear and tear, especially if they're exposed to the elements or fluctuations in temperature.

Solution

While you can't stop the natural aging process, you can take steps to maintain your cornices. Regular inspection and maintenance can help identify early signs of wear, allowing you to address them before they escalate into larger issues.

Additionally, investing in high-quality materials during construction can prolong the lifespan of your cornices.

2. Improper Installation

Improper installation is another common culprit behind cornice cracking. Using inadequate adhesives, failing to allow materials to acclimate before installation, and not securing the cornices properly to the ceiling and wall can all contribute to cracks.

Essentially, shortcuts taken during the installation process can lead to structural weaknesses in the cornices.

Solution

When installing cornices, it's crucial to follow manufacturer guidelines and best practices. Ensure that you're using the right adhesives and allowing materials to adjust to their environment before installation.

Properly securing the cornices to both the ceiling and wall provides essential support and reduces the risk of cracking over time.

3. Physical Impact and Stress

Cornices are susceptible to damage from physical impact and stress. Activities such as moving furniture or accidental bumps against the walls can put pressure on the cornices, causing cracks to form.

Even minor incidents can weaken the structural integrity of the cornices and lead to visible damage.

Solution

Be mindful of potential sources of physical impact and stress around your cornices. Take care when moving furniture and avoid bumping into walls unnecessarily.

Installing furniture pads and taking precautions during home activities can help minimise the risk of damage to your cornices.

4. Ground Movement and Natural Settling

Over time, homes may experience ground movement and natural settling, which can manifest as minor cracks in walls or cornices. These movements are often gradual and may occur several years after the house has been completed.

Factors such as soil composition, moisture levels, and geological conditions can influence ground movement.

Solution

While it's challenging to prevent natural settling entirely, you can mitigate its impact on your cornices by maintaining a stable foundation. Regularly inspecting your home for signs of settlement, such as cracks in walls or uneven floors, allows you to address underlying issues before they affect your cornices.

5. Extreme Temperature Changes

Extreme temperature changes, especially in regions like Perth, can exacerbate the risk of cornice cracking. Fluctuations in temperature cause materials to expand and contract, putting stress on the cornices and potentially leading to cracks over time.

Solution

Implementing climate-appropriate construction techniques and materials can help minimise the impact of temperature changes on your cornices. Additionally, maintaining a consistent indoor temperature and controlling humidity levels can reduce the strain on your home's structural elements.

Cornice Integrity: Empowering Homeowners for Lasting Beauty

Dealing with cracks in your home's cornices is a pretty common headache for many homeowners. But if you want to tackle them head-on and keep your walls looking pristine, it's essential to know what's causing those pesky cracks in the first place.

By understanding the root issues, you can fix them properly and prevent them from cropping up again. So, let's talk about how to repair spider cracks in plaster walls, shall we?

These cracks, often resembling a spider's web, can show up due to various reasons like structural settling, temperature changes, or even just the natural aging of your home. The key is to get ahead of the problem.

With a little knowledge and some elbow grease, you can keep your cornices looking fabulous for generations to enjoy. So, roll up your sleeves, grab your tools, and let's get those cracks patched up!

1 2 3 4 5 6 7 8 9 10 11 12 13 14 15